I hope you had a fun week-end and in the US a good Fourth of July! This is an illustrated tutorial about strap notching, since so many people have asked me how I do strap notching recently. Nothing like pictures, you know!
This is not my idea, by the way, I learned how to do this from other SCWF and PMWF members, and there was even another tutorial posted, but when I found it in the mirror site, all the pictures are missing. So I decided to do mine own.
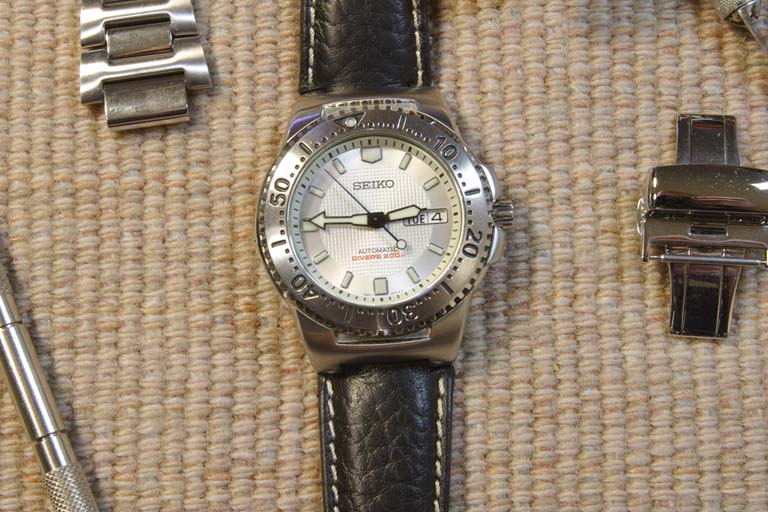
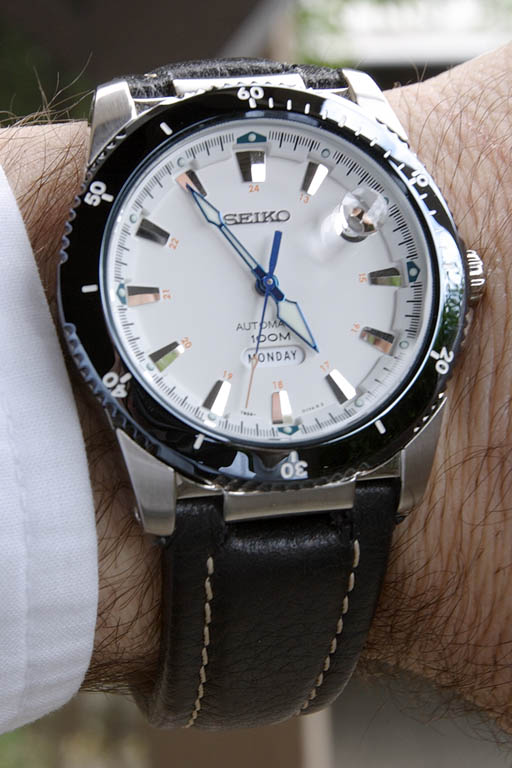
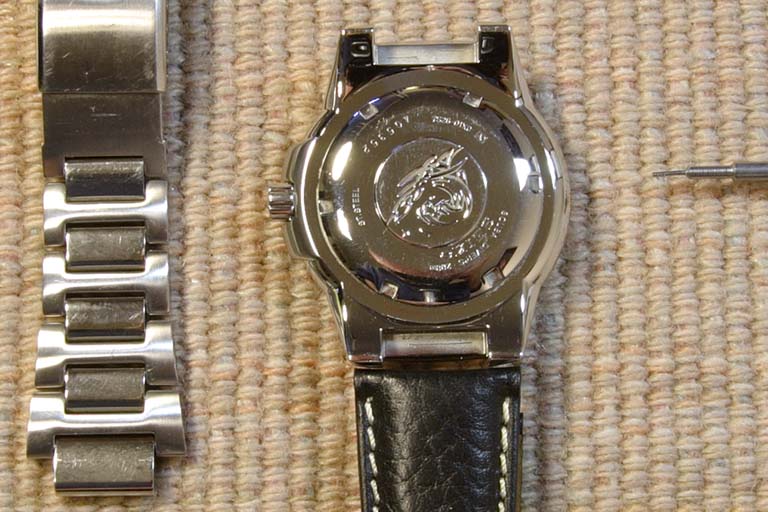
My project for this afternoon is my Seiko SKXA47K White Knight, with its semi- integrated bracelet. I've wanted to put this on a strap for a long while and now is the time! Below are the basic tools I'm going to use, an Exacto blade to do the cutting, Super-Glue to hold down the 'flaps' after I cut them and magnifying goggles so I can see precisely what I'm doing.

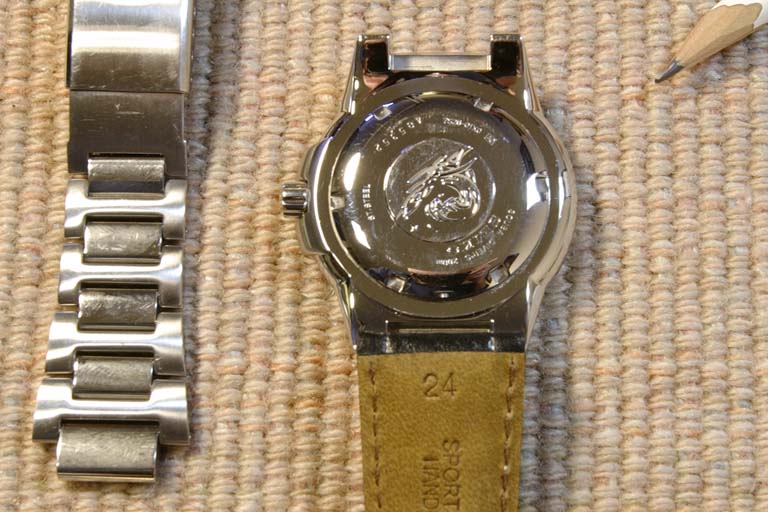
I picked a 24mm pilot style strap because it seemed like the right overall width to match the White Knight case design, but you can see the problem in the picture below, the stock bracelet has a small (15mm) center part that sticks into the case to mate up. I certainly didn't want a 15mm strap on this monster of a watch, so my plan is to cut notches in the strap, on the outside corners, to create a 15mm wide center section that will mate up like the original bracelet.
Here I'm using a soft sharp pencil to mark the lines I'll cut on, using the case lugs as my model. You could also use the bracelet to determine where to cut. Measure and make your marks carefully, remember the advice, "Measure twice, cut once!"
Now the scary part, cutting the expensive strap you bought.
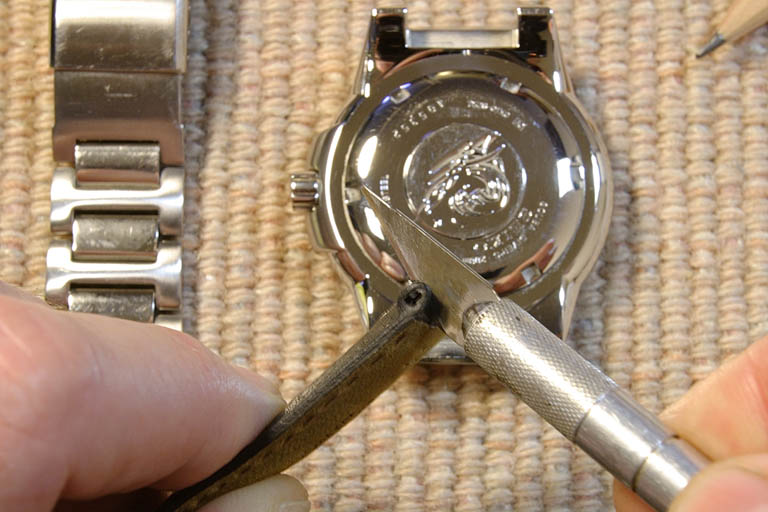
Now you cut in from the edge, on the back side ONLY, to meet the top-down cut you made. You are trying to make a 'flap' out of the corner of the strap that is in the way, so you can pull the flap to the back of the strap, out of the way, and glue it there. Then it will have a smooth 'shoulder' and look original, not like it has hacked out.
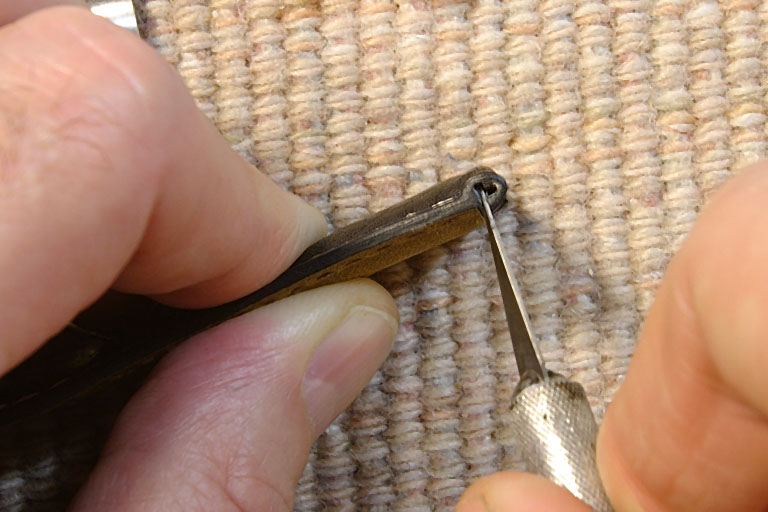
Below you see the first two cuts are done, and the 'flap' I'm talking about.
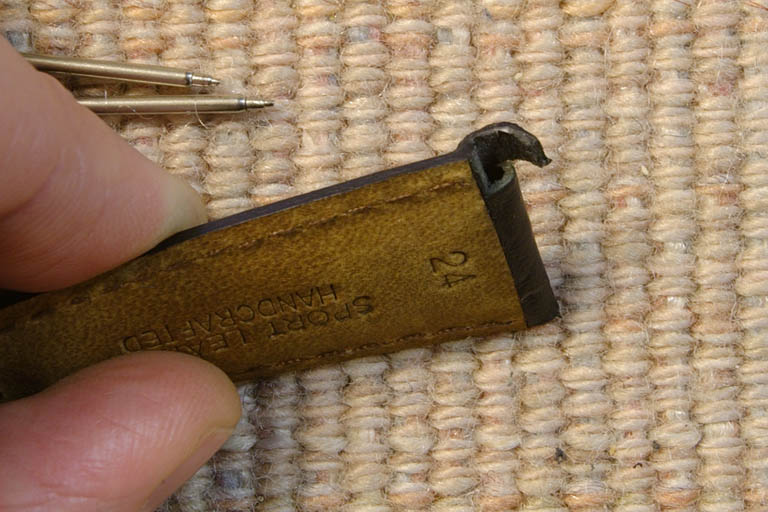
Try folding the flap down to create the notch and hold it up to the watch case to check on the fit. Usually, in my experience, but not always, the notch won't be deep enough, and now is the time to perhaps cut the front a touch deeper, but more importantly (and more effectively) trim some of the material out from behind the flap so it can fold down more and make the notch deeper.
Be careful when trimming the material out from behind the flaps, I had to trim some of the thick strap material below the back of the flaps in this case, so they would fold down deep enough. Try not to cut the stitching either! Here is a picture of both sides cut, and trimmed, ready to fold over and glue.
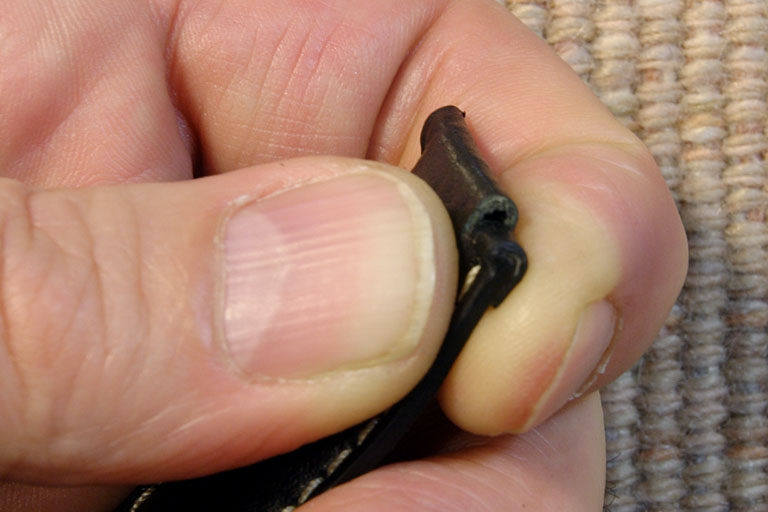
And below you can see one flap folded down and Super-Glued. You can also see where I have trimmed some material away from the back of the strap on the other flap. I put the Super-Glue on the inside of the flap, fold it over, pulling tightly to make the notch as deep as possible, then hold the flap to the back of the strap until the glue sets. I occasionally lose a little skin in the process.

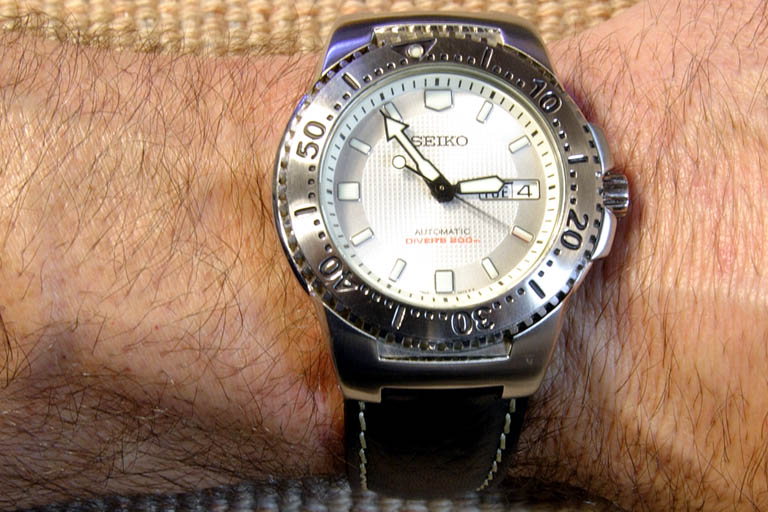
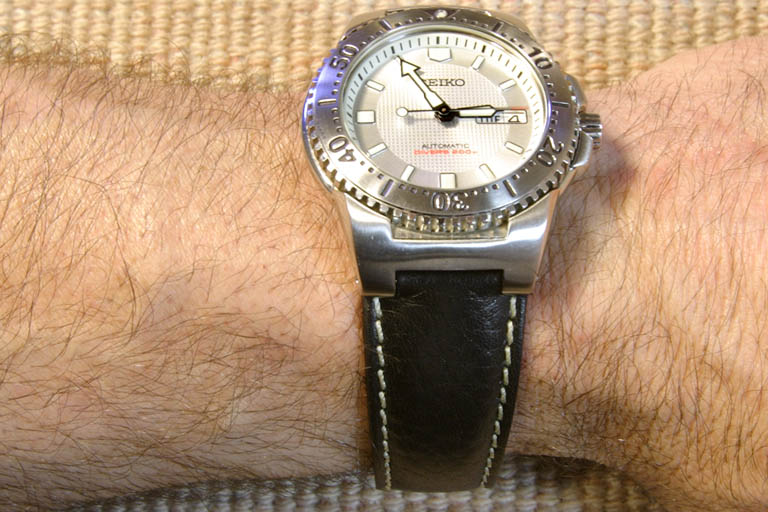
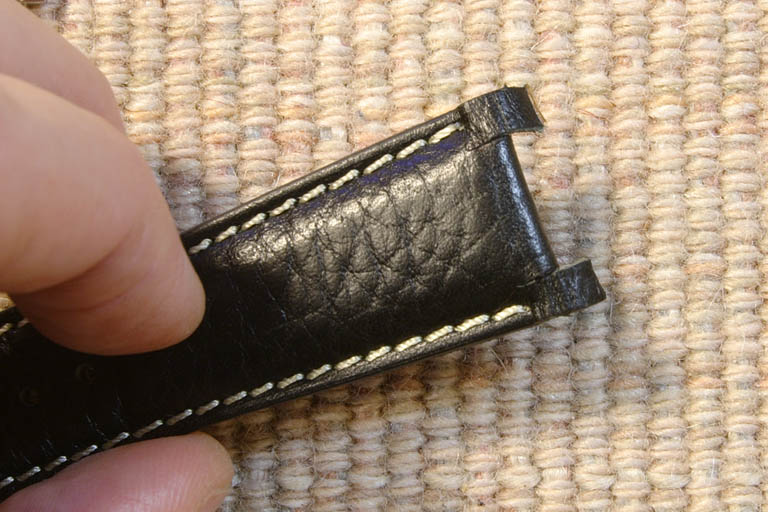
And here is the tongue side of the strap, all glued up and installed. The leather where the spring bars go through will stretch over time, so don't make the notches too deep. I usually cut them such that putting the spring bars on is fairly difficult the first time, which is a pain I'll admit. But the upside is when the leather stretches later the strap will still be a nice tight, attractive fit.